
How to Tighten Rollator Brakes: Step-by-Step Guide
Let's face it, no one likes the sudden realization that their rollator brakes are loose, especially when you rely on them for stability and safety on a daily basis.
Whether you are just noticing a gradual decline in brake efficiency or the issue came up abruptly, it’s your cue to swing into action.
Below we have whipped up a step-by-step guide, dripping with practical tips, to help you achieve exactly that. Shall we get started?
Step 1: Gather Necessary Tools
Before you dive in, make sure you have these tools at your disposal:
- Screwdriver (Phillips or flathead depending on your rollator)
- Wrench
- Gloves (optional)
Got everything? Super! Let’s move on.
Step 2: Safety First
First thing first, ensure your safety. Find a stable ground where your rollator won't wobble. We wouldn’t want it slipping off and causing accidents, would we?
Step 3: Inspect the Brakes
Let’s play detective for a moment. Examine the brakes closely. Are there any signs of wear and tear? Sometimes, it's a tiny problem causing the big fuss.
Step 4: Locate the Adjustment Screw
Spotting the adjustment screw is your next mission. You'll usually find it where the brake cable meets the brake handle. Found it? You’re doing great!
Step 5: Loosen the Locknut
Roll up those sleeves and grab your wrench. Loosen the locknut that secures the brake cable. Easy does it, a couple of twists should do the trick.
Step 6: Adjust the Screw
Now, it's time for the main event. Take your screwdriver and turn the adjustment screw clockwise to tighten the brakes. Test the tension by pressing the brake handle; it should offer resistance but not be difficult to press. Got the feel right? Fabulous!
Step 7: Secure the Locknut
Once you have achieved the perfect tension, secure the locknut back in place with the wrench. A few twists clockwise and you should be golden.
Step 8: Test the Brakes
Okay, take a step back. It's testing time. Push the rollator forward and apply the brakes. Does it stop efficiently? If yes, you’ve nailed it! If not, don’t sweat it, just repeat the adjustment process until it feels right.
Pro Tips:
- Always maintain a clean brake system to ensure longevity.
- Consult the rollator’s manual for any specific instructions; not all heroes wear capes, some come in the form of manuals.
- Seek professional help if you’re unsure about doing it yourself; it’s always better to be safe than sorry.
Conclusion
Tightening rollator brakes doesn’t have to be a chore reserved for the professionals.
With the right tools and a sprinkle of patience, you’ve seen that it's something you can totally handle yourself, right from the comfort of your home.
It’s all about giving attention to the little details and not rushing the process.
Recommend Products
-
 Sale
Sale
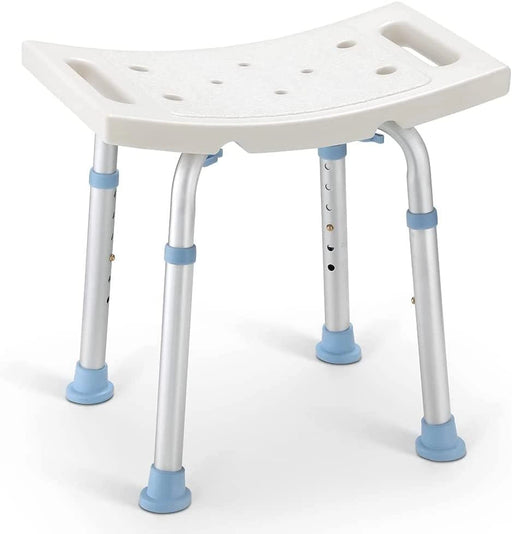
Standard - 300LBS Capacity Shower Stool
Original price $51.99From Original price $28.99Original price $51.99Current price $28.99From $28.99Current price $28.99OasisSpace Medical Square Shower Stool for Bathtub OasisSpace Square Shower Stool for Bathtub is approved as the highest standard(FDA) for medical...
View full detailsSaleOriginal price $51.99From Original price $28.99Original price $51.99Current price $28.99From $28.99Current price $28.99 -
 Sale
Sale
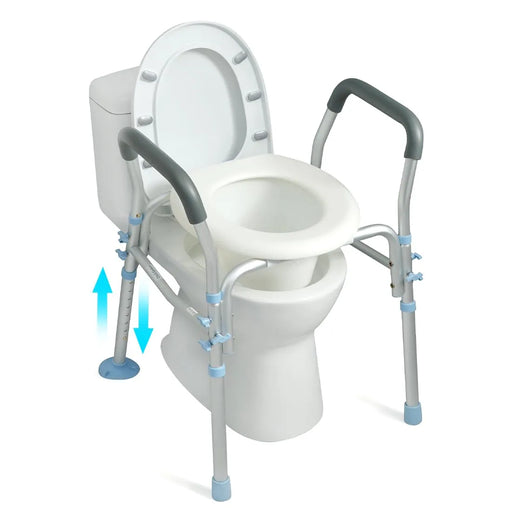
300LBS Capacity Raised Toilet Seat with Arms
Original price $120.99From Original price $69.99Original price $120.99Current price $69.99From $69.99Current price $69.99OasisSpace Raised Toilet Seat with Arms - Safe and Convenient OasisSpace Raised Toilet Seat with Arms provides stable support for users to sit dow...
View full detailsSaleOriginal price $120.99From Original price $69.99Original price $120.99Current price $69.99From $69.99Current price $69.99 -
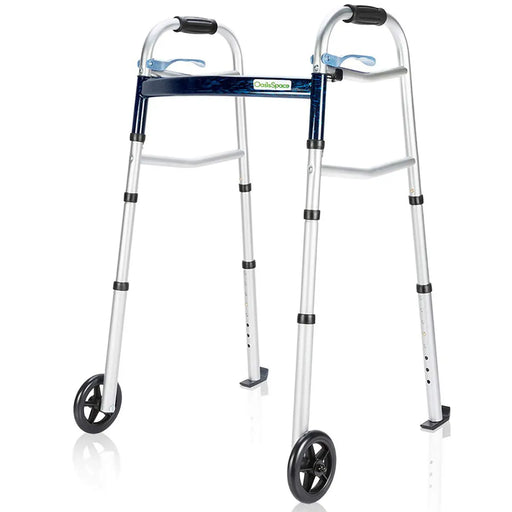
350LBS Capacity 2 Wheel Walker
From Original price $39.99Original price$39.99From $39.99Current price $39.99Product Advantages OasisSpace's 350LBS Capacity walker offers a fusion of lightweight design and sturdy support, crafted from high-grade anodized ...
View full detailsFrom Original price $39.99Original price$39.99From $39.99Current price $39.99 -
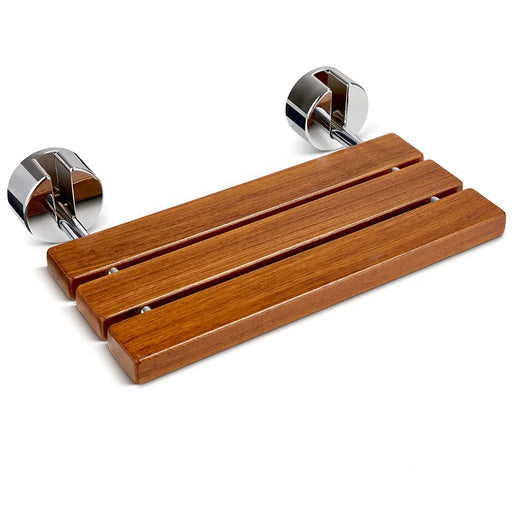
Wall Mounted - 400LBS Capacity Teak Folding Shower Seat
From Original price $131.99Original price$131.99From $131.99Current price $131.99Advantages OasisSpace Teak Wall-Mounted Shower Seat adopts a folding design, which can save space to the greatest extent and can be folded up at a...
View full detailsFrom Original price $131.99Original price$131.99From $131.99Current price $131.99 -
 Sale
Sale
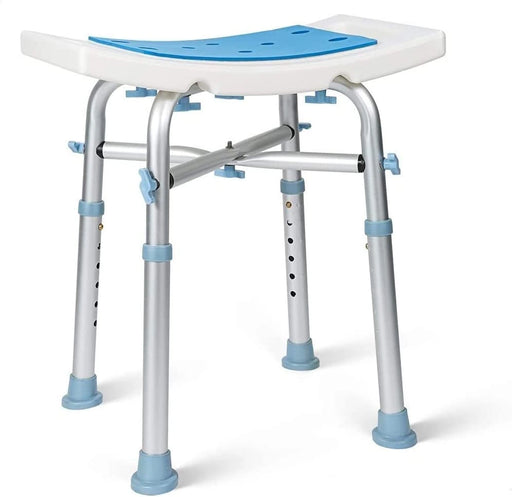
Padded & Bariatric - 500LBS Capacity Heavy Duty Shower Stool
Original price $57.99From Original price $36.99Original price $57.99Current price $36.99From $36.99Current price $36.99OasisSpace Medical Heavy Duty Bariatric Shower Stool OasisSpace Medical Heavy Duty Bariatric Shower Stool is approved by the FDA, which is the hig...
View full detailsSaleOriginal price $57.99From Original price $36.99Original price $57.99Current price $36.99From $36.99Current price $36.99 -
 Sale
Sale
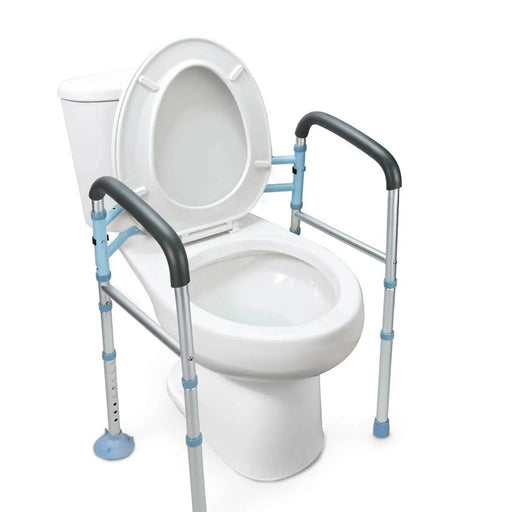
300LBS Capacity Stand Alone Toilet Safety Rail
Original price $69.99From Original price $44.99Original price $69.99Current price $44.99From $44.99Current price $44.99OasisSpace Toilet Safety Rails - Fit Any Toilet OaisSpace stand-alone toilet safety rails provide sturdy support for the elderly and people with ...
View full detailsSaleOriginal price $69.99From Original price $44.99Original price $69.99Current price $44.99From $44.99Current price $44.99


